What is Zapier?
Zapier is an online automation tool that connects your favorite apps, such as Gmail, Slack, Mailchimp, and over 1,500 more. You can connect two or more apps to automate repetitive tasks without coding or relying on developers to build the integration. It's easy enough that anyone can build their own app workflows with just a few clicks.
We prepared this step-by-step tutorial with screenshots on how to make a Zap using PDF.co and Google Sheets, to automatically convert Google Forms responses to a PDF.
This tutorial assumes you have already clicked "View responses in Sheets" in your Form, and that a linked Sheet is present and ready to use.
- Make a Zap!
- Select Google Sheet from List of Apps
- Select New Spreadsheet Row as Trigger Event
- Connect Google Account to Zapier
- Customize the New Spreadsheet Rows Trigger
- Select the Detected Spreadsheet
- Set Up PDF.co and Select "Anything to PDF Converter"
- Select or Connect your PDF.co Account to Zapier
- Configure the Anything to PDF Converter
- Test & Review then Copy & Paste URL to Browser to View Result
- Recheck and Edit as Needed
- Video Tutorial: Generate PDF from Google Forms Responses
1. Make a Zap!
Start by clicking on Make a Zap! at the top-right corner of your Zapier dashboard
2. Select Google Sheet from List of Apps
Under "When this happens …" Choose App & Event search and select Google Sheets from the list of apps
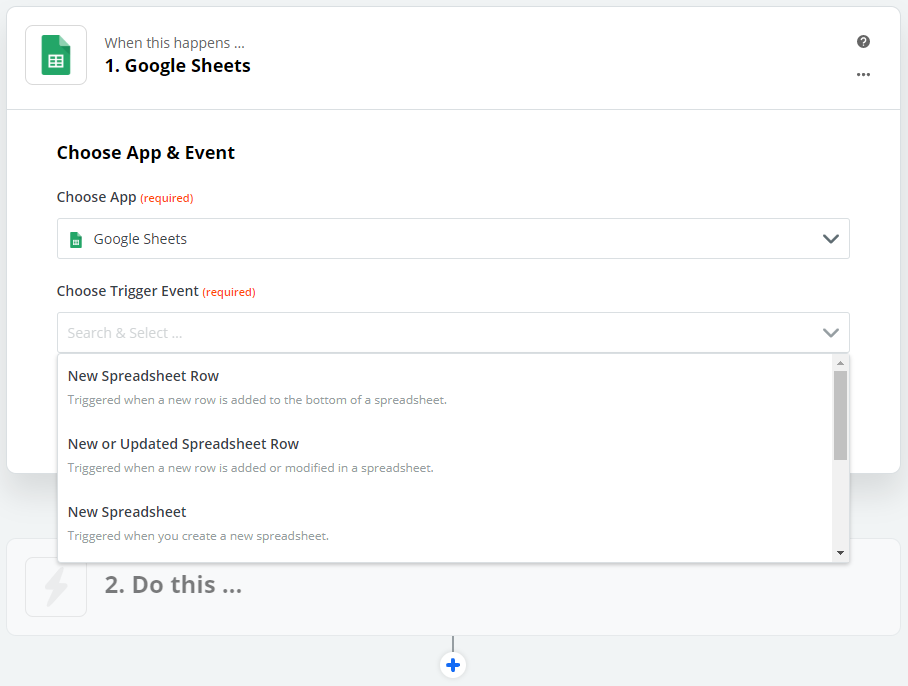
3. Select New Spreadsheet Row as Trigger Event
The Google Form responses are added as new rows in the Google Sheets. We will use the New Spreadsheet Row as our Trigger. Under Choose Trigger Event select New Spreadsheet Row in Google Sheets.
It should look like this up until this point:
4. Connect Google Account to Zapier
Select or connect your Google account to Zapier
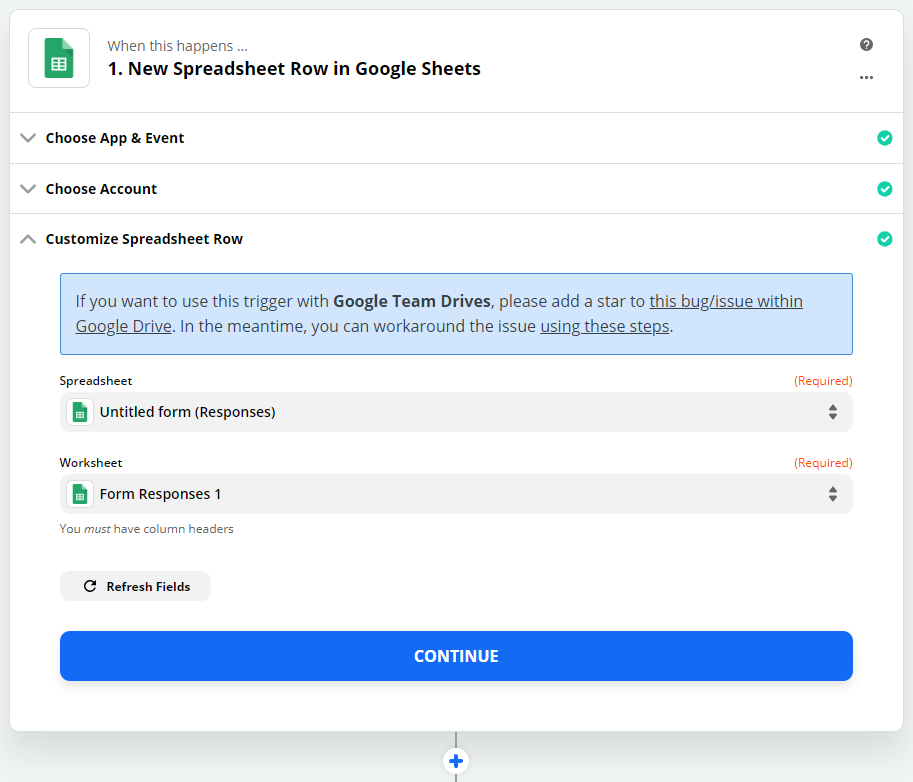
5. Customize the New Spreadsheet Rows Trigger
- In the Spreadsheet field, choose the Spreadsheet name where the responses are stored.
- In the Worksheet field, select the Worksheet name.
6. Select the Detected Spreadsheet
On the Find Data step select the detected Spreadsheet and click TEST & CONTINUE
7. Set Up PDF.co and Select "Anything to PDF Converter"
Now, let's set up the PDF.co step. Under "Do this …" Choose App & Event search and select PDF.co from the list of apps. To create our PDF using HTML Code and the Google Form Responses, select Anything to PDF converter under Choose Action Event.

8. Select or Connect your PDF.co Account to Zapier

9. Configure the Anything to PDF Converter
- In the Source Type field, select Raw HTML code as a string.
- In the Input field, enter the HTML code and fetch its corresponding Google Form Response.
At this point, optional parameters such as the output file name can be defined.

10. Test & Review then Copy & Paste URL to Browser to View Result
On the Send Data step click TEST & REVIEW, the returned URL is a direct link to the generated file. Copy and paste the URL in your browser to see the result.

Excellent! We have successfully generated a PDF from Google Form responses.
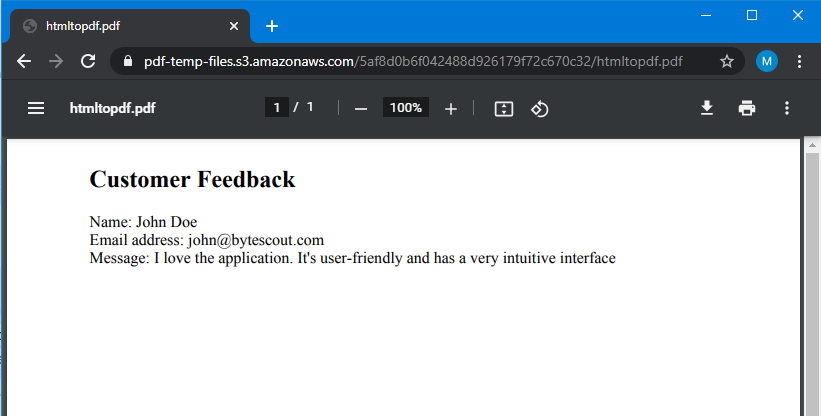
Screenshot of Generated PDF from Google Form
11. Recheck and Edit as Needed
Check if everything works correctly and without errors then hit RETEST & CONTINUE
Give a name to your Zap at the top-left corner, then hit Done Editing, you can then TURN ZAP ON

Depending on your Zapier plan and settings, your Zaps will trigger and the output and logs can be found in your Tasks History.
Video Tutorial: Generate PDF from Google Forms Responses
Related Pages:
Related Samples:
Source: https://pdf.co/generated-pdf-from-google-forms-responses-via-google-sheets
Posted by: lynettalynettagochnoure0270219.blogspot.com
